
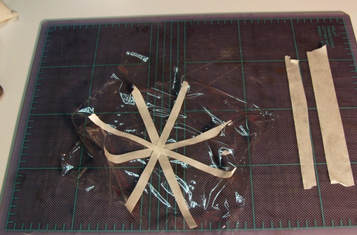
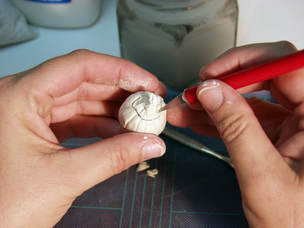
 For this project you will need: Creative Paperclay 1 piece of plastic wrap, approx. 6" X 6" craft knife masking tape thread scissors sand (or baking soda) sculpting tools water for smoothing paperclay paints * optional but not necessary: tweezers, needle files, 600 grit sandpaper - Cut masking tape in to strips approx. 5" long by 1/8" to 1/4" wide - Apply strips of tape to plastic wrap, in diagonal criss-cross pattern as shown. 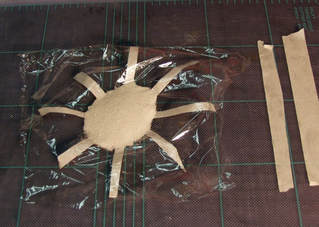 - turn plastic wrap over so side with tape is facing down. - pour about a tablespoon of sand in center, more or less depending on the size of jack-o-lantern you are making. Remember though, that this is going to be the INSIDE dimension, so don't use too much sand. 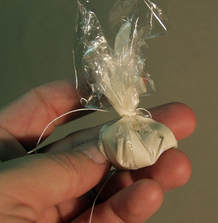 - Pull plastic wrap up around sand and tie top securely with thread. At this point you will have a little floppy baggy of sand. Trim excess plastic wrap from top. In the next step, you want to firm up the bag and form the shape of jack-o-lantern you want. Do this by wrapping additional strips of masking tape around the bag. 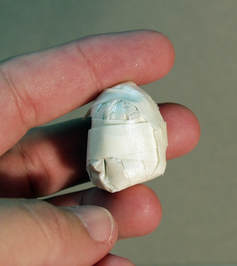 If you want a short, fat jack-o-lantern, wrap from top to bottom of bag first. If you want a taller jack-o-lantern, start wrapping sand bag in center, and shape with additional strips of masking tape around the bag as shown. You should end up with a firm packet of sand in the approximate shape you'd like your pumpkin to be. 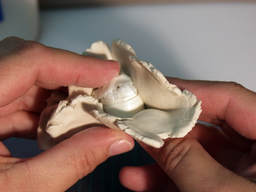 - Roll or press out a circle of paperclay big enough to cover bag, and about 1/16" thick. Place bag in center of circle and begin pulling clay up over bag, pinching off excess as you go. 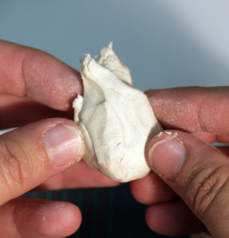 Cover bag and smooth clay by dipping your fingers in water and rubbing over clay. 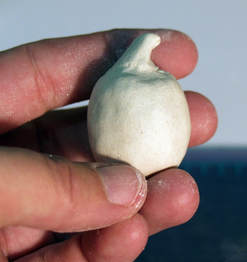 Here is the bag covered with clay and smoothed out. Don't forget to leave a little stem! 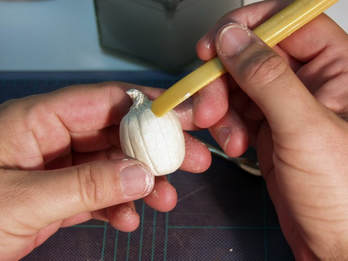 Sculpt sections and stem into clay.
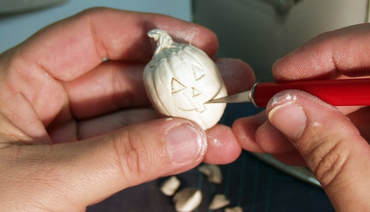
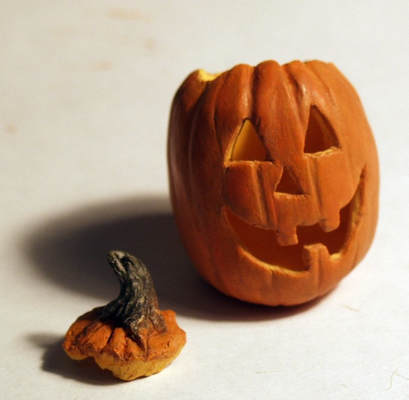
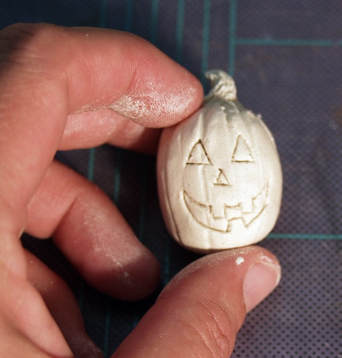 When you are finished sculpting the pumpkin, cut top and face design into pumpkin. Use an up-and-down motion with the knife, and cut to, but not through the masking tape. Do not remove the sections you are cutting, leave them in place. Now comes the most difficult part - Set the jack-o-lantern aside to dry. Wait. Patiently. It will take about a day to dry, depending on your climate. You can console yourself while waiting by making more jack-o-lanterns! - When clay is dry, cut around top again. Use an up-and-down sawing motion with the knife, this time cutting all the way through the masking tape and into the sand. - Carefully remove top and pour sand out of bag. - Remove plastic wrap from inside of jack-o-lantern (tweezers are useful for this). - Re-cut lines in jack-o-lantern face design if necessary and remove pieces. - File edges of cuts if desired, and, if desired, lightly sand jack-o-lantern with 600 grit sandpaper.
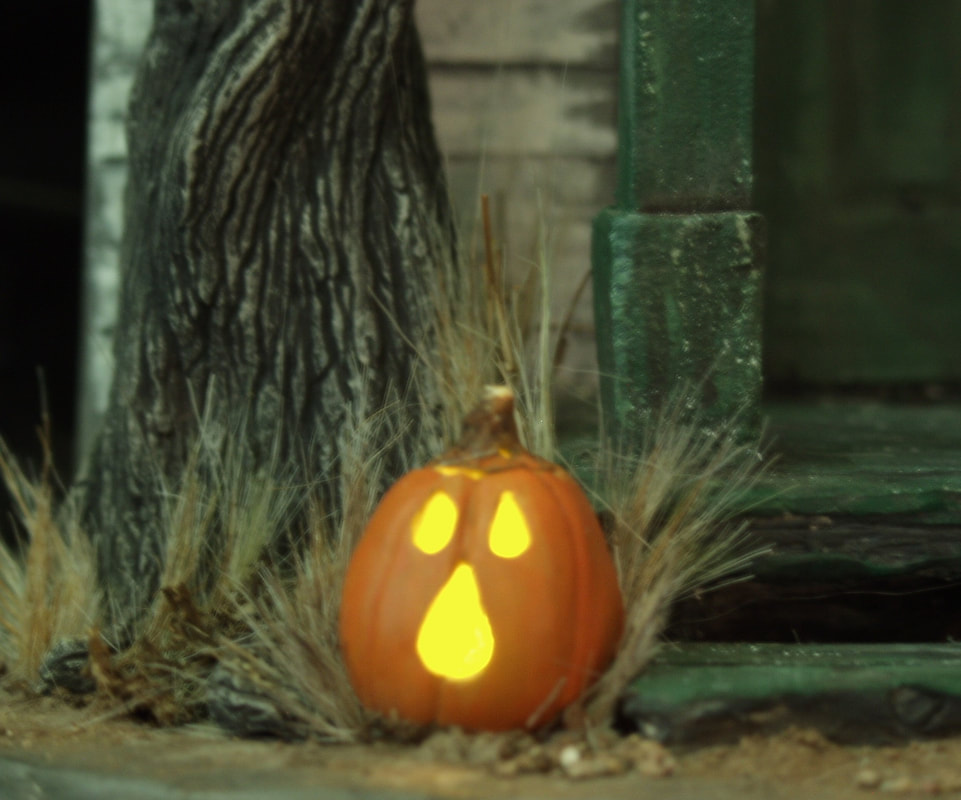
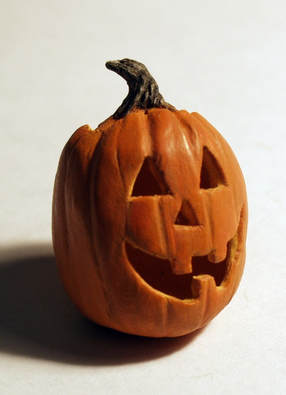
Paint with acrylic paints and polish with tissue paper or a paper bag.
0 Comments
Leave a Reply. |
TMS Club Members share their tips, pointers and projects.Archives
March 2023
Categories |


 RSS Feed
