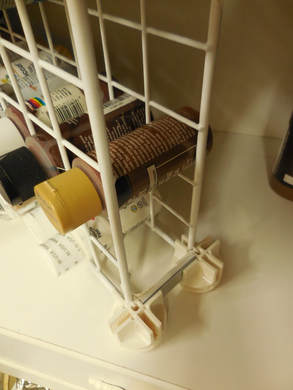
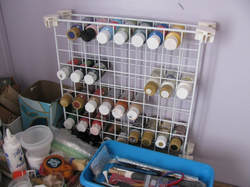
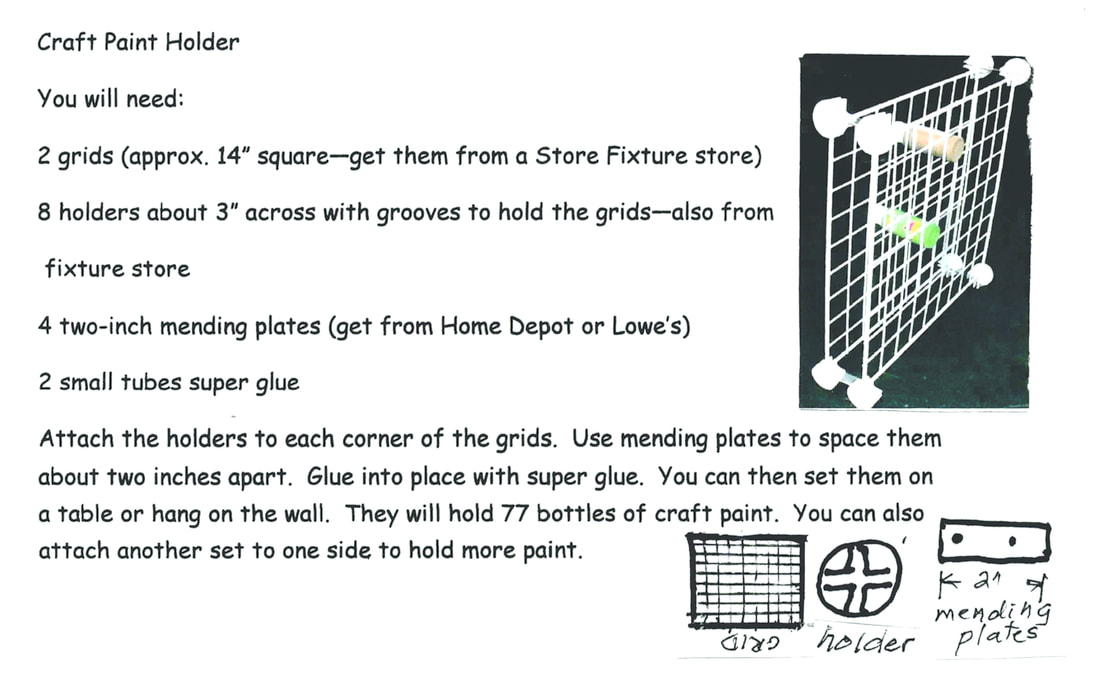
 If you want to make the corners more secure, cut a piece of foam core or cardboard to match the size of the mending plates and add that in the holders with the plate as shown.  Here is an example of the completed project in use - by Myrna Williams
0 Comments
General guidelines for working with Creative Paperclay
- Keep package sealed until ready to use. Once opened, place as soon as possible in an airtight baggie and/or plastic wrap. Paperclay should be soft when the package is opened, about the consistency of a soft pie dough. If it isn't, then either you have an old package of paperclay, or air has gotten into it somehow. If it is not completely dried out, you may be able to save it by kneading in some water. Note – this really needs to be worked into the clay until the clay is smooth! - Kneading fresh paperclay is not necessary, however you may knead some water into the clay if you like to work with a softer clay. - Keep a container of water on hand for dipping sculpting tools in, and have paper towels available for wiping off hands and tools. - When rolling out clay, tape a piece of plastic wrap onto smooth work surface, place clay on plastic wrap and cover with a second piece of wrap. Roll out the clay between the plastic wrap. If you want to make the clay a specific thickness, you can place wood strips of the appropriate thickness on either side of the clay and tape them to the work surface, place the second piece of plastic wrap on top and roll clay until the rolling pin is riding on the wood strips. - When cutting wet clay, use an up and down “sawing” type of motion with your knife rather than dragging it through the clay. - Paperclay will stick to *most* surfaces. However, if you are having trouble getting it to stick to the desired surface, paint a thin layer of white glue on the surface and allow the glue to dry to the “tacky” stage before adding clay. To attach wet clay to dry clay, apply a small amount of glue and water to dry clay and allow mixture to soak into the clay for a few seconds, then apply wet clay. - To transfer patterns onto wet or dry clay - Draw design on tracing paper. On the reverse side of the paper go over the drawing lines with a No. 2 or softer pencil. For wet clay; after rolling out the clay between sheets of plastic wrap, remove top layer of wrap then immediately place design onto clay and smooth out tracing paper. Carefully lift one edge of paper and see if design is transferred - if the entire design does not show up on the clay surface, you may need to go over the design very lightly with a soft pencil. Try to press just enough to transfer the design but not hard enough to indent the clay. For dry clay; tape design to surface of clay and trace over the design with a hard pencil or ball-point pen. - Paperclay shrinks very slightly as it dries - by approximately 6 percent of the original. - When dry, paperclay can be worked in the manner of most soft woods. It can be carved, sanded, etc. WEAR A DUST MASK while performing any of these operations! |
TMS Club Members share their tips, pointers and projects.Archives
March 2023
Categories |


 RSS Feed
